

Getting started with GStreamer. A beginner’s guide
Developing Video and Audio applications is actually quite easy!

Isn’t it cool to play with videos? How about if you were able to code your way with videos or play with them using the command line. Haven’t you wished you could tinker with video streams from your webcam or edit your video file with the command line or with code. In this article I’ll get you started with GStreamer in C and Python.
By the end of this reading you will feel confident to take your first steps with video processing using GStreamer. We’ll install GStremer first, test the installation and then write a simple program in C and Python to begin with GStreamer and developing audio and video applications.
First Step: Introduction and Installation
So, what is GStreamer? GStreamer is a cross platform multimedia framework that allows you run build powerful audio and video processing applications. GStreamer applications are built as a directed acyclic graph. Directed means video and audio data flows from one vertex to the next and not the other way round. Acyclic means if one vertex feeds video or audio data to another vertex, audio and video data doesn’t flow other way round. Vertex in case of GStreamer means an element, a dedicated processing unit with pathways to receive from and send data to other vertices (elements).
In many ways building GStreamer applications is like playing with lego blocks, each block being a GStreamer Element. Put a bunch of related lego blocks (elements) together and you have yourself something that processes video and audio data in an orderly fashion, not to mention something you have built yourself. So, how do you go about building your first GStreamer application?
First you install all the necessary packages, runtime and developer dependencies. Follow the instructions in this article and you will have your first GStreamer application. I am going to assume your are running Ubuntu on your machine. The application we will build will first display a test video which you will simply be able to replace with video from your webcam.
Let’s begin with the installation. Taken from the official GStreamer documentaion, run the following command to install all the “-dev” packages. Remember in Ubuntu all the packages needed to develop applications i.e. the ones containing the header files and package config files are suffixed “-dev”.
sudo apt-get install libgstreamer1.0-dev libgstreamer-plugins-base1.0-dev libgstreamer-plugins-bad1.0-dev gstreamer1.0-plugins-base gstreamer1.0-plugins-good gstreamer1.0-plugins-bad gstreamer1.0-plugins-ugly gstreamer1.0-libav gstreamer1.0-tools gstreamer1.0-x gstreamer1.0-alsa gstreamer1.0-gl gstreamer1.0-gtk3 gstreamer1.0-qt5 gstreamer1.0-pulseaudioSecond Step: Testing your installation
We’ll run a test pipeline to test our installation. Open on the Terminal and run the following command. This should show a test video on the screen.
gst-launch videotestsrc ! autovideosinkNext we will write C code to do display the same test video.
Third Step: Coding your first GStreamer program
Open up your favorite code editor. That’s Visual Studio code in my case and paste the following code into a new file. Save the file as first_gstreamer.c. We will execute the program first, see the output then run through the program line by line. This program simple display’s a test video generated by a test element that ships with GStreamer.
#include <stdio.h>
#include <gst/gst.h>

int main(int argc, char *argv[]) {
    gchar *pipeline_string = "videotestsrc ! autovideosink";
    GstElement *pipeline;
    GMainLoop *loop;

    gst_init (&argc, &argv);
    loop = g_main_loop_new (NULL, FALSE);

    pipeline = gst_parse_launch (pipeline_string, NULL);
    if (pipeline == NULL) {
        printf("Could Not Create Pipeline");
        exit(1);
    }

    gst_element_set_state (pipeline, GST_STATE_PLAYING);

    g_main_loop_run (loop);
    return 0;
}
Copy the above code into a file named first_gstreamer.c and compile it using
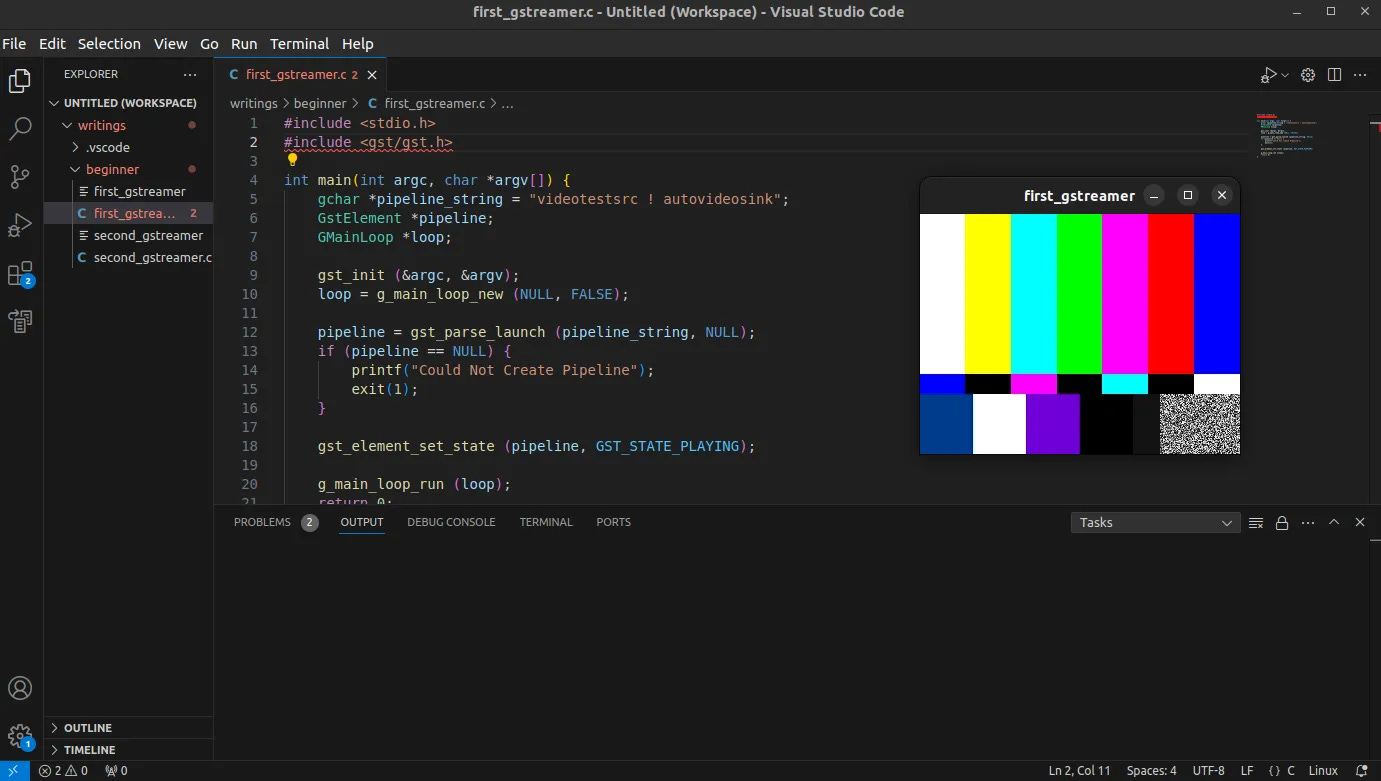
gcc -o first_gstreamer first_gstreamer.c `pkg-config --cflags --libs gstreamer-1.0`When you run the program with the command ./first_gstreamer, a video showing a test video pattern, like the one in the image above will be shown on the screen.
Let’s walk through the program. The include file for GStremer is gst/gst.h. The first line in main is the description of the pipeline. A pipeline description contains the GStreamer elements connected/separated by an exclamation mark. gst_init initializes GStreamer. The loop is for allowing the application to run in the GLib Main loop. The next line, gst_parse_launch is the important line. This is where the pipeline is created from the pipeline description. Finally gst_element_set_state starts/plays the pipeline. The final line g_main_loop_run runs the GLib Main loop.
If you want to view your webcam in similar fashion, change the pipeline description to the one below. This assumes you have one of the latest 720p webcams on your laptop. Play around with the resolution to get input from different resolutions from your webcam.
gchar *pipeline_string = "v4l2src ! image/jpeg,width=1280,height=720 ! jpegdec ! videoconvert ! autovideosink";There is one interesting thing about this new pipeline. It’s the way we have specified the resolution 1280x720. In the pipeline, image/jpeg,width=1280,height=720 is not an element. These are caps or capabilities. Think of them as descriptions of the connecting blocks between two Lego blocks.
That’s it. You made it. You built your first GStreamer application in C. You can find the code to more complete version of the code in my Github repository https://github.com/mndar/writings inside the beginner directory. In the example above, I have excluded some aspects of GStreamer for the sake of brevity.
Finally here is the complete Python version of the same program
#!/bin/python3

import os
import sys
import gi
gi.require_version('Gst','1.0')

from gi.repository import Gst, GLib

def bus_callback(bus,msg,data):
    loop = data
    t = msg.type
    if t == Gst.MessageType.EOS:
        print("Received EOS on pipeline\n")
        loop.quit()
    elif t == Gst.MessageType.ERROR:
        print("Receievd Error on pipeline\n");
        loop.quit()

if __name__ == "__main__":
    Gst.init(sys.argv)
    pipeline = Gst.parse_launch("videotestsrc ! autovideosink")
    loop = GLib.MainLoop()

    bus = pipeline.get_bus()
    bus.add_watch(GLib.PRIORITY_DEFAULT, bus_callback, loop)
    pipeline.set_state (Gst.State.PLAYING)

    loop.run()
The Python code has the same flow as the detailed C program in the repository. I find this PyGObject API reference handy while writing GStreamer programs in Python https://lazka.github.io/pgi-docs/
Next Steps: Where to go from here?
So there it is, a simple, gentle introduction to what GStreamer is. Play around with the code, try out different pipelines to test them out in C and Python.
Watch this blog for more posts on GStreamer. I hope to see you in the next GStreamer tutorial.